Getting started
Net iD
Prepare Net iD Client, enroll smart cards and tokens, set up Net iD Access, and test authentication in the Showroom environment.
1Trust Showroom
- Install Net iD Client and reboot the PC.
- Make sure the Net iD Client extension is enabled in your web browser.
- Add the Showroom site to the configuration.[HKEY_LOCAL_MACHINE\SOFTWARE\Policies\Pointsharp\NetiD\Client\Plugin\AllowURL]
"10"="https://*.pointsharp.net,full"

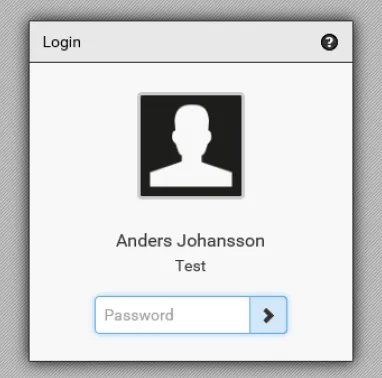
2Login to Showroom Administration Portal
- Contact Pointsharp for first Officer token enrollment.
- Login using your newly enrolled token, smart card or YubiKey.
3Register new smart card
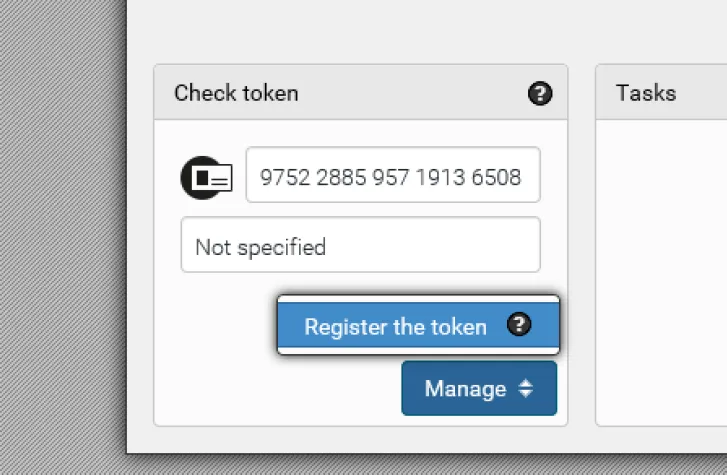
- Insert an empty smart card.
- Register the smart card.
4Enroll token - preparation
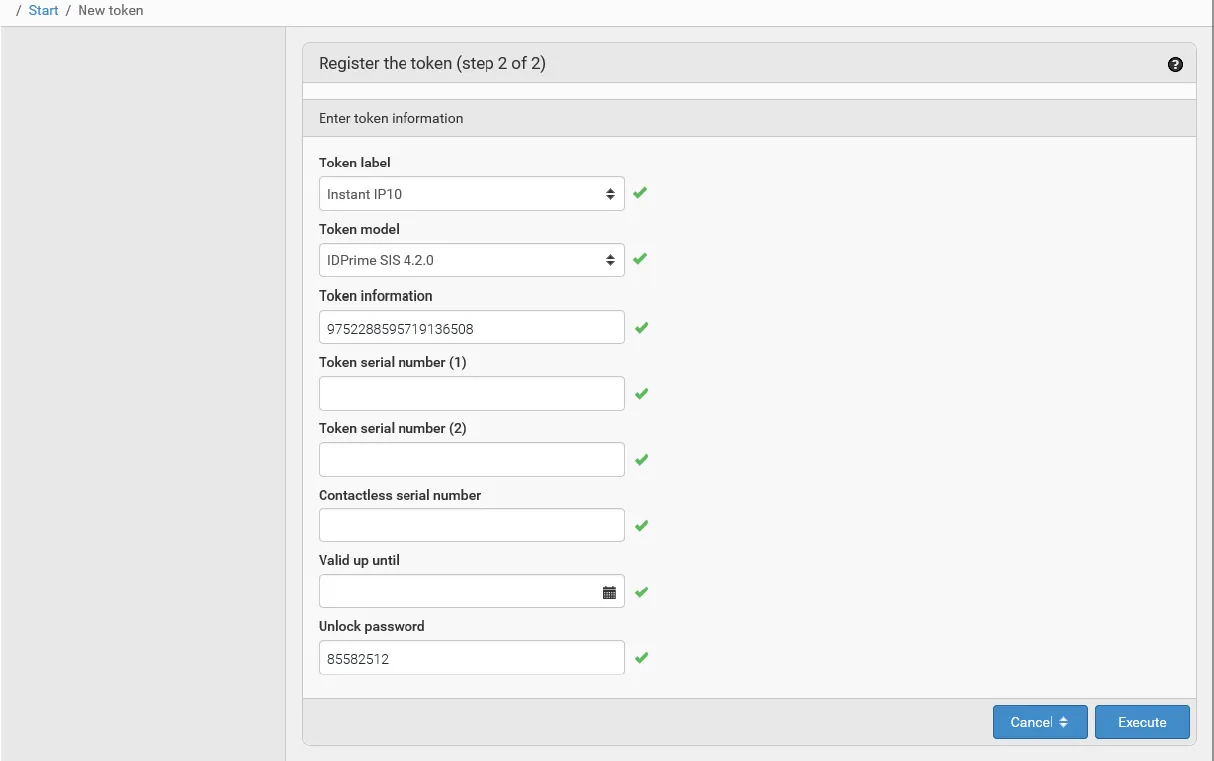
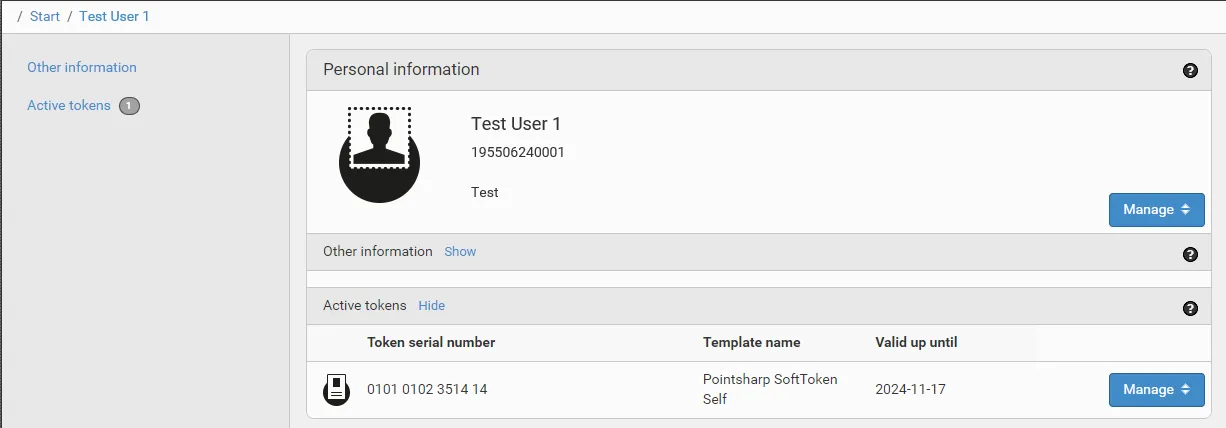
- Search for the user.
- Insert an empty registered smart card.
- Start enrollment of the primary card.
5Enroll token - smart card
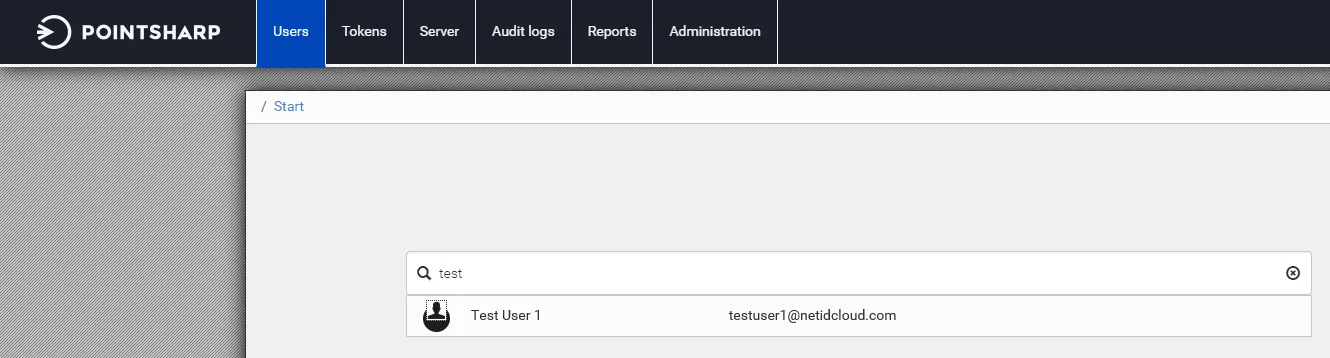
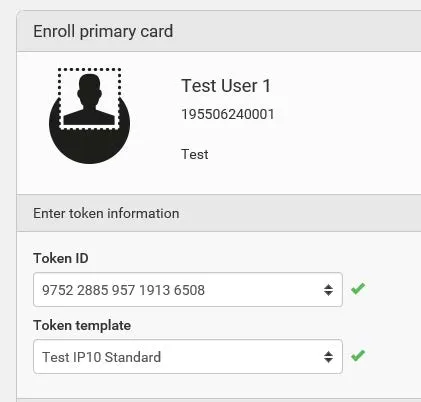
- Search for the user.
- Insert an empty registered smart card.
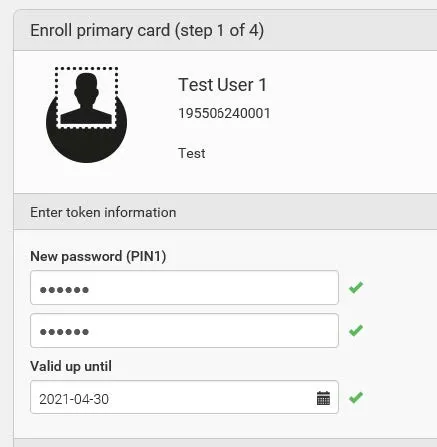
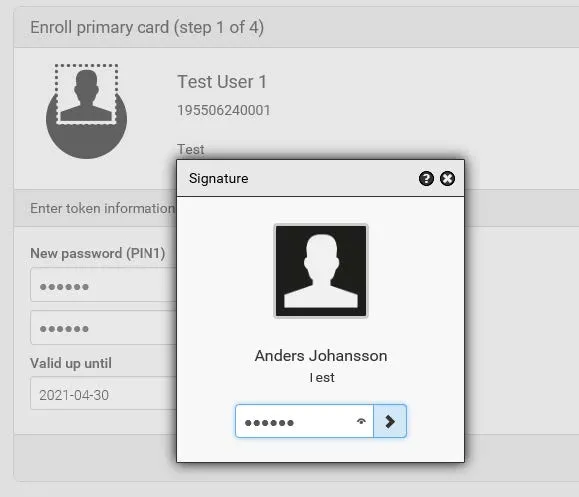
- Enroll the primary card.
- Select token template.
- Enter a new PIN.
- Sign enrollment with the Officer certificate.
6Enroll Access - start
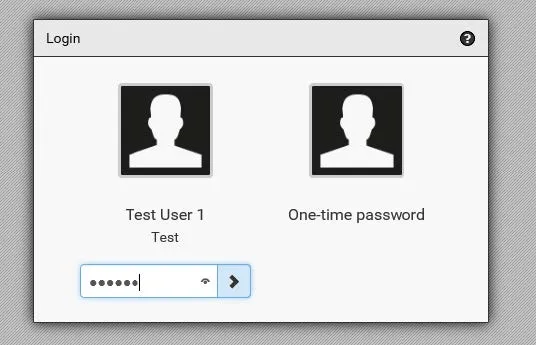
- User logs in with token to self-service.
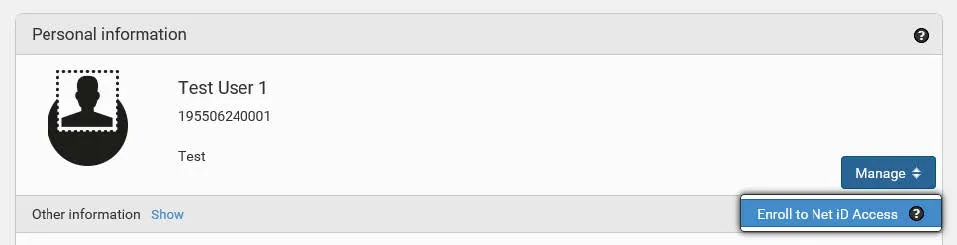
- Enroll to Net iD Access.
7Enroll Access - sign
- User logs in with token to self-service.
- Enroll to Net iD Access.
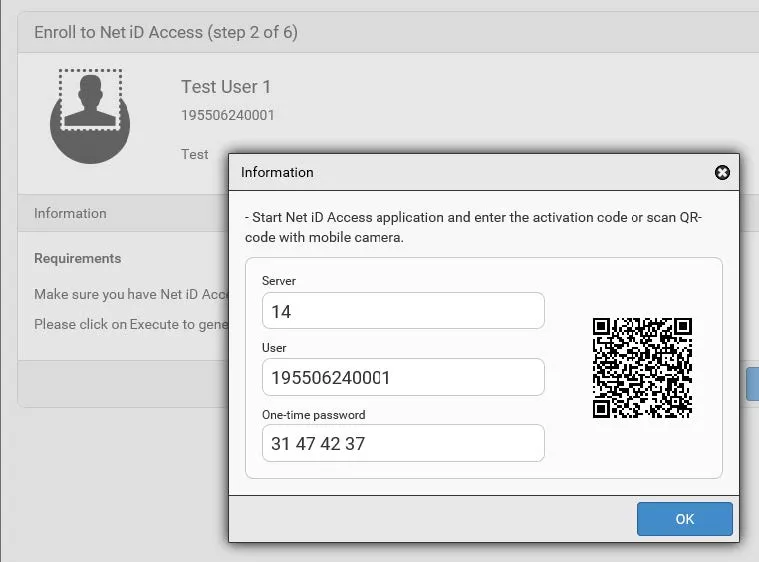
- Approve terms and sign enrollment.
8Enroll Access - mobile app
- User logs in with token to self-service.
- Enroll to Net iD Access.
- Approve terms and sign enrollment.
- Install the Net iD Access app.
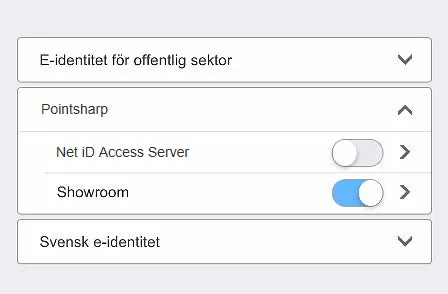
- Activate the Pointsharp Showroom connection. Add pointsharp.net manually by pressing Add connection.
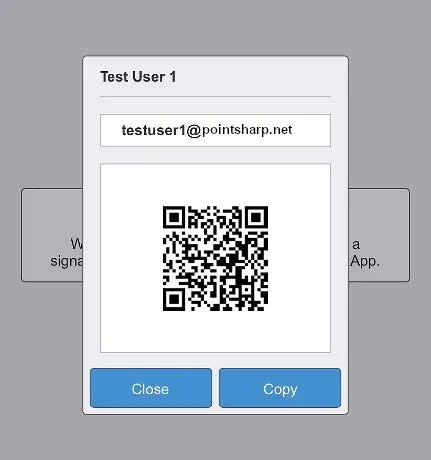
- Enter OTP or scan the QR code with the mobile camera to continue enrollment.
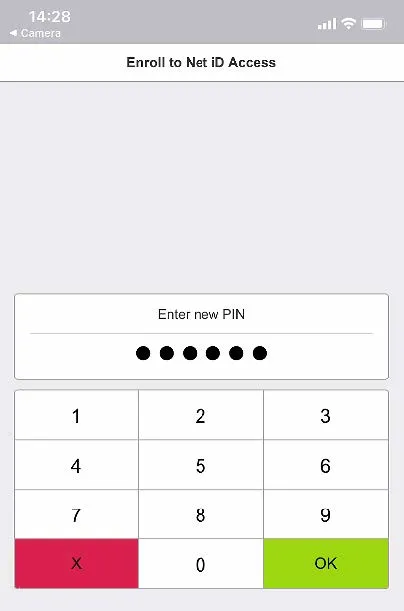
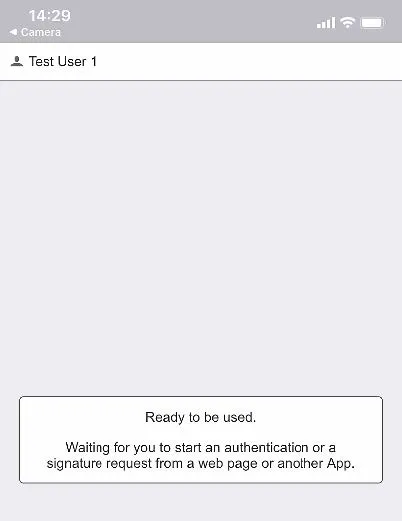
- Enter a new PIN and enroll.

9Test Access Authentication - start
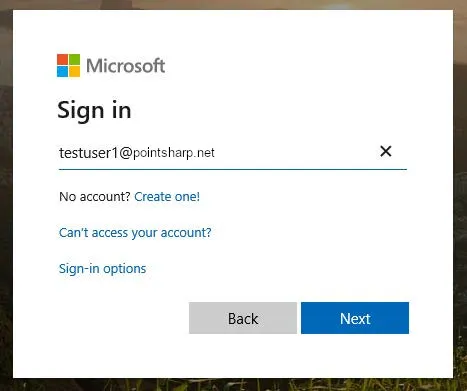
- Login to Office 365.
- Enter the user unique ID. The UPN is found in the Net iD Access app.
10Test Access Authentication - complete
- Login to Office 365.
- Enter the user unique ID. The UPN is found in the Net iD Access app.
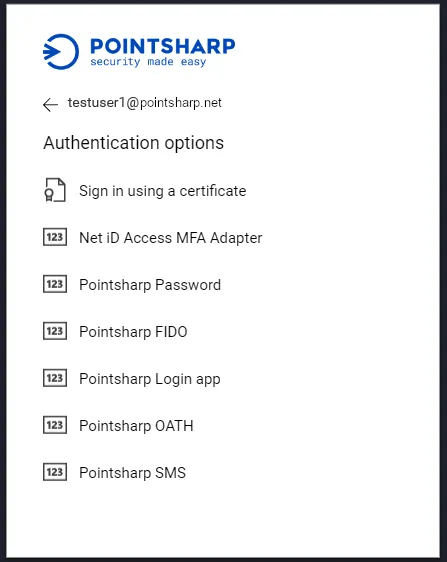
- Select Net iD Access MFA as authentication.
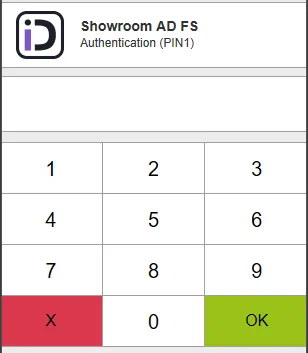
- Enter PIN in the app.
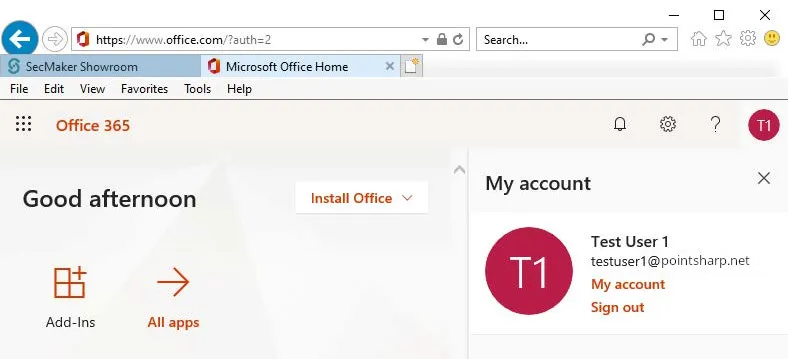
- Logged in to Office 365.